AI 3D Room Design
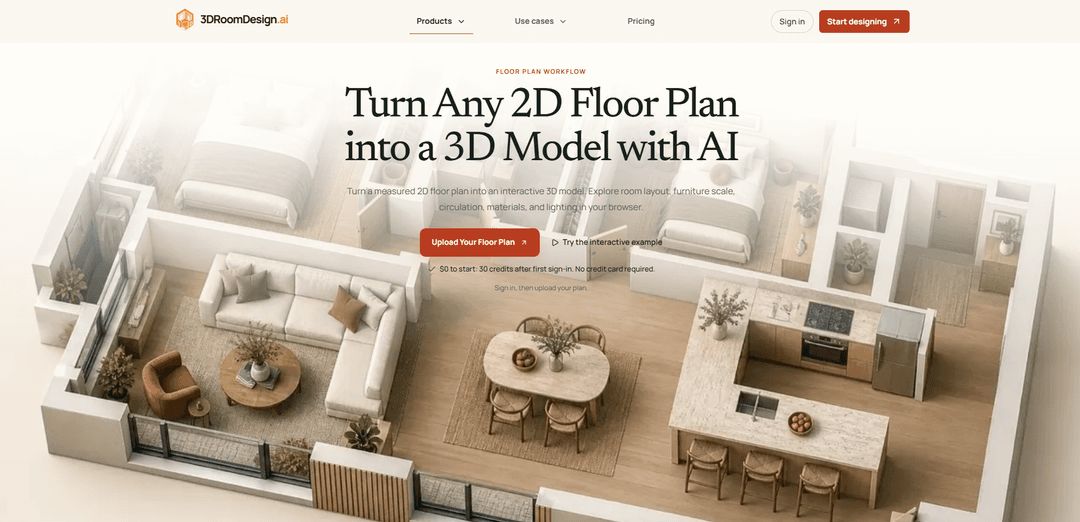
AI 3D Room Design turns a 2D floor plan into an interactive, accurately scaled 3D model in minutes—then lets you edit furniture, materials, and lighting, export a GLB, and share a browser link for review.
https://3droomdesign.ai/floor-plan-to-3d?utm_source=aipure
Product Information
Updated:Sep 22, 2026
What is AI 3D Room Design
AI 3D Room Design turns any 2D floor plan into a photorealistic, walkable 3D interior in under 10 minutes. Walls, furniture, materials, and lighting are generated automatically; users can edit everything live in the browser and share a single link for clients to explore — no CAD skills or software install required. Built for interior designers, contractors, real estate agents, and homeowners.
Key Features of AI 3D Room Design
AI 3D Room Design converts a measured 2D floor plan (PDF/JPG/PNG, including sketches) into a linked 2D + interactive 3D workspace in the browser, reconstructing walls, openings, room boundaries, and spatial relationships, then furnishing and refining the space through direct editing and AI chat. Users can iterate on layouts, materials, lighting, and furniture at realistic scale, share a view-only link for stakeholder review, and export a 3D model (GLB) for downstream use—helping teams spot circulation/clearance issues early and align faster before construction, procurement, or client sign-off.
2D plan → structured 3D reconstruction: Uploads of floor plans (PDF/JPG/PNG and even hand sketches) are analyzed to detect walls, doors/windows/openings, room boundaries, and spatial relationships to generate a consistent 3D shell for review.
Linked 2D + interactive 3D workspace: The editor presents synchronized 2D and 3D views so users can understand how rooms connect, orbit/zoom the model, and evaluate wall height, furniture scale, and circulation in one place.
Editable furnishing and layout tools: Furniture can be moved, rotated, resized, duplicated, or removed; users can browse/place items and test multiple layout options without rebuilding the base geometry.
AI chat-based refinement: A conversational design agent applies targeted updates—e.g., adjust layout, swap furniture, refine materials, or change lighting—so iteration is faster than manual-only editing.
Shareable, controlled review links: Projects can be shared via a single browser link with view-only access; teams can explore 2D/3D, use inside/eye-level viewing, and creators can manage publishing, expiry, and download permissions.
3D export for downstream workflows: Exports a downloadable GLB model for presentations or further 3D work, enabling reuse beyond the web editor.
Use Cases of AI 3D Room Design
Interior design proposals & client approvals: Quickly turn client floor plans into reviewable 3D options, compare furniture arrangements and finish directions, and share an interactive link to gather precise feedback room-by-room.
Renovation planning & sales visualization: Help homeowners and renovation teams validate circulation, storage depth, and furniture fit early; surface assumptions (e.g., unclear openings/heights) before quoting or demolition.
Real estate marketing for empty/off-plan spaces: Create furnished 3D visuals from listing plans so buyers/tenants can understand layout and scale, improving comprehension beyond line drawings while keeping the measured shell consistent.
Space planning for homeowners and renters: Test furniture layouts and traffic flow before purchasing items, moving in, or rearranging—using realistic object sizing and rapid iteration to avoid costly mistakes.
Stakeholder alignment for multi-party projects: Provide a single visual reference for designers, clients, estimators, and contractors to discuss specific walls/objects/materials, reducing ambiguity and speeding decisions.
Pros
Fast path from existing 2D plans to an interactive 3D model, reducing repetitive manual modeling.
Editable, structured output (not just a render): linked 2D/3D views, furniture edits, and GLB export support real review workflows.
Sharing via browser link improves collaboration and client understanding without requiring CAD skills.
Cons
Accuracy depends on source plan clarity and reliable dimensions; unclear symbols/heights can become assumptions that must be verified.
Not a substitute for on-site verification or professional responsibilities (structure, code, MEP); outputs should be used for decision support, not final construction truth.
Multi-storey projects may require converting levels separately and coordinating between models.
How to Use AI 3D Room Design
1) Sign in to get free credits: Go to https://3droomdesign.ai/floor-plan-to-3d, sign in, and claim the starter credits (no credit card required).
2) Prepare a clear source floor plan: Use a clean 2D floor plan (PDF/JPG/PNG or a photo/scan of a hand-drawn sketch). Make sure walls, doors, windows, and room boundaries are legible, and include at least one reliable dimension so the AI can calibrate scale from a stated measurement (not image size).
3) Upload your plan and state your brief: Upload the floor plan in the Floor Plan to 3D workflow, then describe what matters (key rooms, any must-keep elements, priorities like circulation, furniture fit, materials, lighting direction).
4) Generate the structured 3D model: Start generation and wait for the workspace to build a linked 2D + interactive 3D model. Progress is shown while it converts walls, openings, and room relationships into a measurable shell.
5) Review the shell for spatial reliability: Before styling, verify the geometry: confirm an overall anchor dimension and several local checks, inspect door/window placement, and check circulation. If anything is unclear in the plan (e.g., ceiling height or ambiguous openings), treat it as an assumption to confirm rather than “true” precision.
6) Edit the layout directly in the workspace: Use the editor to move, rotate, resize, duplicate, or remove furniture while viewing the result in 3D. If needed, draw new walls/partitions to test renovation ideas and circulation changes.
7) Refine with AI conversation: Type targeted change requests (e.g., adjust layout, materials, lighting, or furniture) and review the updated result. Iterate in small, reviewable changes so you can confirm each decision layer.
8) Compare alternatives without rebuilding the model: Create and review multiple options (different furniture arrangements, finish palettes, or lighting directions) while keeping the same underlying room geometry, so reviewers can focus on what actually changed.
9) Run quality checks before sharing for decisions: Separate facts vs assumptions vs preferences; validate practical clearances (door swings, chair pullback, appliance access, bed sides, wardrobe openings, main walking routes). If a clearance is tight, measure it in the source and flag for site confirmation.
10) Share an interactive link (view-only control): Publish and share a link so others can explore both 2D and 3D in their browser (including inside/eye-level view and guided tours). Control sharing by setting link expiry, download permissions, and stopping sharing when needed; updates appear only when you publish again.
11) Export the 3D model: Download the current workspace as a 3D GLB export for downstream use (e.g., other viewers or pipelines).
AI 3D Room Design FAQs
Sign in to a floor plan–to–3D tool, upload a clear plan (PDF or image), and provide at least one reliable dimension or scale reference. The AI detects walls, doors/windows, and room boundaries, then generates a linked 2D + interactive 3D model you can orbit and review in the browser. After generation, you refine furniture, materials, and lighting using editing tools or an AI chat workflow.
Popular Articles

Atoms: A Multi-Agent AI Platform That Transforms Ideas into Launch-Ready Products
May 22, 2026

Nano Banana SBTI: What It Is, How It Works, and How to Use It in 2026
Apr 15, 2026

Atoms Review — The AI Product Builder Redefining Digital Creation in 2026
Apr 10, 2026

Kilo Claw: How to Deploy and Use a True "Do‑It‑For‑You" AI Agent(2026 Update)
Apr 3, 2026
Latest AI Tools Similar to AI 3D Room Design

Rendair
Rendair is an all-in-one AI-powered architectural rendering platform that offers quick, high-quality visualizations through both AI tools and professional 3D artists for architects, designers, and real estate professionals.

Triorama AI
Triorama AI is an AI-powered 3D product configurator platform that enables eCommerce businesses to offer real-time product personalization and visualization capabilities to their customers.

AiHouse
AiHouse is an AI-powered 3D interior design and manufacturing software that streamlines the entire process from design to production.
Kanai
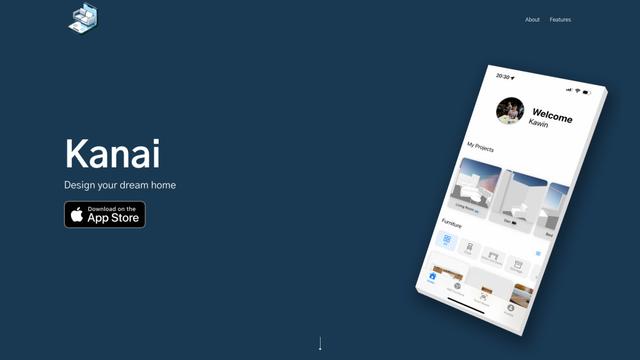
Kanai is an AI-powered 3D interior design platform that allows users to generate furniture models, visualize spaces, and collaborate on design ideas using natural language.
Popular AI Tools Like AI 3D Room Design
Planner 5D
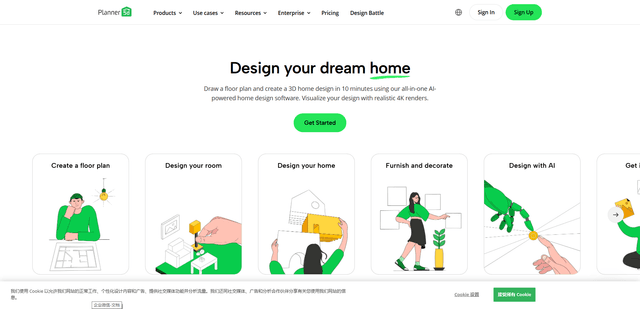
Planner 5D is an AI-powered home design software that allows users to create detailed 2D and 3D floor plans, furnish spaces, and visualize designs through realistic 4K renders with an extensive catalog of over 8,000 items.
Coohom
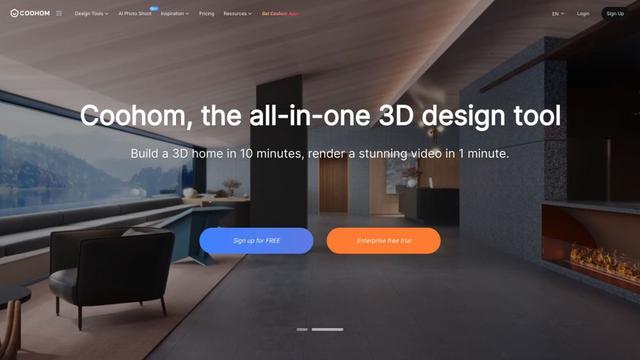
Coohom is an all-in-one 3D design and visualization platform that allows users to create floor plans, render photorealistic images, and design interiors in minutes.

RoomGPT
RoomGPT is an AI-powered interior design tool that allows users to instantly transform and visualize their spaces by uploading a photo and selecting design themes.

Maket
Maket is an AI-powered generative design software that enables architects, builders, and developers to instantly create thousands of customized architectural plans and 3D visualizations based on project constraints.