Pixo
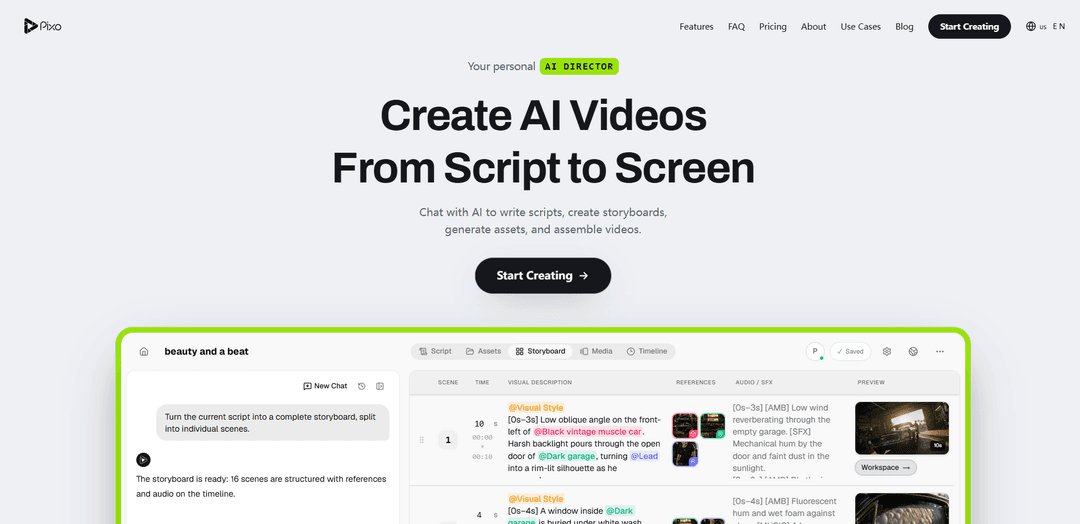
Pixo is an agent-driven AI video platform for creators and teams. It researches, scripts, storyboards, generates consistent scenes with leading video models, adds voiceover, and edits the final cut in one collaborative browser workspace.
https://pixo.video/?utm_source=aipure
Product Information
Updated:Sep 30, 2026
What is Pixo
Pixo (https://pixo.video/) is an AI-powered video creation tool built to help creators, marketers, and teams produce professional, publish-ready videos from “script to screen.” Instead of only generating isolated clips, Pixo focuses on full projects: it helps you write or refine a script, plans the video as a structured storyboard, generates the required media assets, and edits the final cut in a single workspace. Designed around professional production standards and rapid iteration, it supports a range of use cases including YouTube content, marketing ads, music videos, product demos, podcasts, and educational/training content.
Key Features of Pixo
Pixo is an agent-driven AI video creation platform that takes you from script to finished video inside one collaborative browser workspace. It can research and write scripts, build a shot-by-shot storyboard with references and audio cues, generate scenes using multiple leading video models in a single project (e.g., Veo, Kling, Hailuo, Seedance), maintain consistency across characters/locations/styles, and assemble everything on a timeline with voiceover, music, and SFX—allowing you to edit or regenerate individual shots without restarting the entire video.
AI Director workflow (chat-to-video): Start from a brief or script and let Pixo’s AI agent research, script, storyboard, generate, and edit—while you can step in and direct at any point.
Shot-by-shot storyboard before rendering: Pixo reviews each scene’s camera moves, references, and sound cues upfront so you can adjust a single shot and avoid wasting generations on blind retries.
Timeline-based assembly and editing: Automatically arranges clips, voiceover, music, and sound on a multi-track timeline; you can tweak timing/transitions and export to MP4.
Consistent assets across scenes: Manages and reuses characters, products, locations, voices, and visual styles across a sequence or series to keep continuity.
Multi-model generation in one project: Mix models for different needs—e.g., Veo for photorealism, Kling for cinematic camera moves, Hailuo for fast short-form—within the same video.
Credit-based generation controls: Uses a credit system where costs vary by model, resolution, and duration, with credit costs shown before generation.
Use Cases of Pixo
YouTube content production: Turn outlines or scripts into publish-ready long-form videos with storyboarded scenes, consistent visuals, voiceover, and a final edit—helping creators scale output.
Marketing & ad creative variations: Produce product ads and marketing videos quickly and iterate/A-B test multiple versions without traditional production overhead.
Music videos and visualizers: Generate synchronized, mood-driven music video sequences (and Spotify Canvas-style vertical visuals) without hiring a full production team.
Product demos and showcases: Create feature-focused demos with controlled camera motion and clear narrative structure for product launches, landing pages, and sales enablement.
Educational and enterprise training: Build training and educational videos that visualize concepts with consistent scenes and a structured storyboard-to-timeline workflow.
Podcast repurposing: Convert podcast episodes into engaging video formats by pairing audio with generated visuals, pacing, and timeline assembly for social and YouTube.
Pros
End-to-end workflow in one place (script → storyboard → generation → timeline edit → export).
Strong creative control via shot-level planning and the ability to regenerate only what changed.
Continuity features for reusing characters/locations/styles across scenes and series.
Flexibility to combine multiple best-fit video models within a single project.
Cons
Video generation requires a paid plan and sufficient credits; usage cost depends on model/resolution/duration.
Feature availability varies by subscription plan, which can affect access to certain tools/models.
How to Use Pixo
1. Create an account and open your dashboard: Go to https://pixo.video/ and click “Start Creating” to sign in. New users typically receive free credits to try the workflow.
2. Start a new video project: From your dashboard, click “New Project” and choose “Video” as the project type.
3. Brief the AI Director (your video intent): In chat, tell Pixo what you’re making—topic/idea, audience, tone/style, target length, and format (e.g., YouTube, Shorts). If you have a script already, paste it.
4. Generate a script (optional but common): Ask Pixo to expand your idea into a full video script. Review and edit the script until the structure, pacing, and wording match what you want.
5. Turn the script into a storyboard: Prompt Pixo to convert the script into a complete storyboard split into scenes. Each scene should include a visual description, duration, and camera direction.
6. Review and refine scenes before rendering: Go scene-by-scene to adjust visual descriptions, timing, camera moves, and any references. This is where you lock the plan before generating media.
7. Add and reuse assets for consistency: Use the asset library to keep characters, products, locations, and visual style consistent across scenes. Reuse the same references throughout the storyboard where needed.
8. Choose AI video models per scene (or let Pixo auto-select): Select the best model for each shot (e.g., Veo for photorealism, Kling for cinematic motion, Hailuo for fast drafts; other supported models may be available). You can mix models within one project.
9. Generate video for each scene: Open a scene’s workspace (or the playground) and generate the shot from its description. Use the generate shortcut (e.g., Cmd+Enter) where available.
10. Regenerate only what you don’t like: If a shot is off, tweak the scene prompt (composition, motion, lighting, camera move) and regenerate that scene without re-rendering the entire video.
11. Add voiceover, music, and sound effects: Pick a voice that matches your channel/brand, then add voiceover and SFX cues per scene. Ensure audio choices support the pacing and transitions.
12. Assemble and edit on the timeline: Use Pixo’s timeline to arrange clips, voiceover, music, and SFX. Make edits, then regenerate only the parts that changed while keeping the rest.
13. Save frequently: Pixo auto-saves, but manually save before major changes (e.g., large storyboard edits or model swaps).
14. Export the final video: Export your finished cut in the correct aspect ratio and resolution (commonly 1080p; 4K may be available depending on plan). Download the file ready for YouTube/social upload.
Pixo FAQs
Pixo is an agentic AI video platform that takes you from idea to finished cut. You can chat with AI to write scripts, turn them into a storyboard, generate video/images/voiceover/music/SFX per scene using different models, review and regenerate shots panel-by-panel, assemble everything on a timeline, and export the final video.
Popular Articles

Vosko AI: Localize and Dub Videos for Global Audiences
Oct 15, 2026

Atoms: A Multi-Agent AI Platform That Transforms Ideas into Launch-Ready Products
Oct 13, 2026

Nano Banana SBTI: What It Is, How It Works, and How to Use It in 2026
Apr 15, 2026

Atoms Review — The AI Product Builder Redefining Digital Creation in 2026
Apr 10, 2026
Latest AI Tools Similar to Pixo

Loud Fame
Loud Fame is an AI-powered video transformation tool that allows users to convert regular videos into anime-style animations and create AI-generated celebrity talking videos.

BizBoom.ai
BizBoom.ai is an AI-powered platform that automatically generates professional product videos from product links and images with 95% less cost.
EzVideos
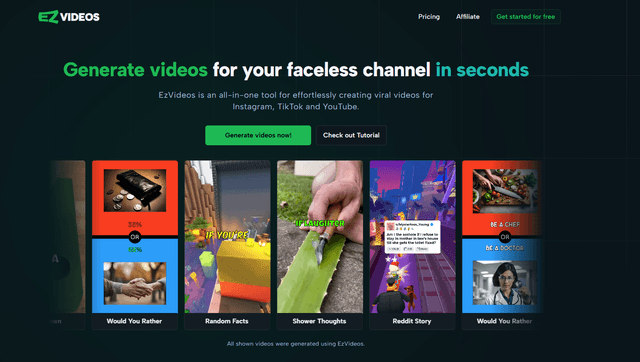
EzVideos is an all-in-one video creation tool that helps users generate viral videos for social media platforms like Instagram, TikTok, and YouTube with automated editing features and built-in resources.
Illuminix
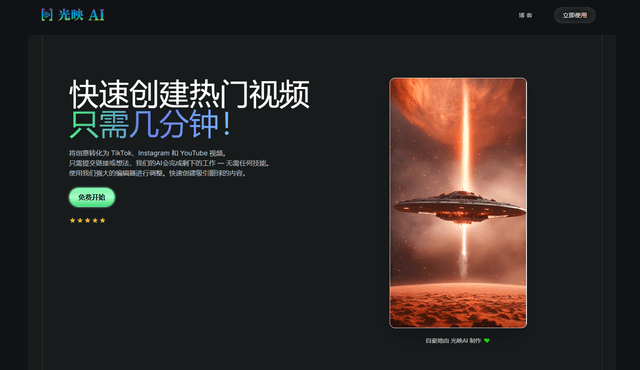
Illuminix is an AI-powered platform that empowers businesses with autonomous hyper-experts and specialized tools for automated business processes, data management, and video content creation.
Popular AI Tools Like Pixo
HunyuanVideo-I2V
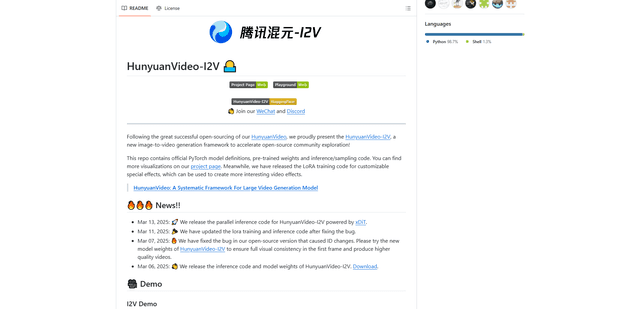
HunyuanVideo-I2V is an open-source AI framework developed by Tencent that transforms static images into high-quality, dynamic videos with customizable motion effects and exceptional visual consistency.
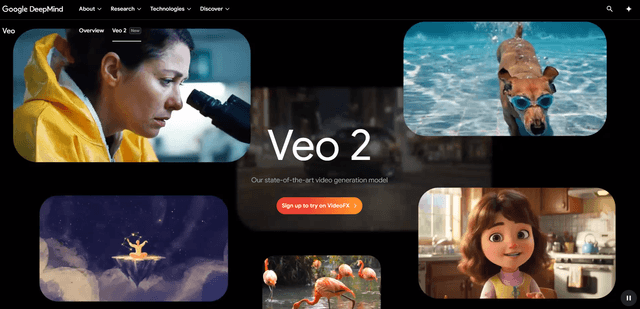
Google Veo 2
Veo 2 is Google DeepMind's state-of-the-art AI video generation model that can create high-quality videos up to 4K resolution with realistic motion, extensive camera controls, and improved physics simulation from text prompts.
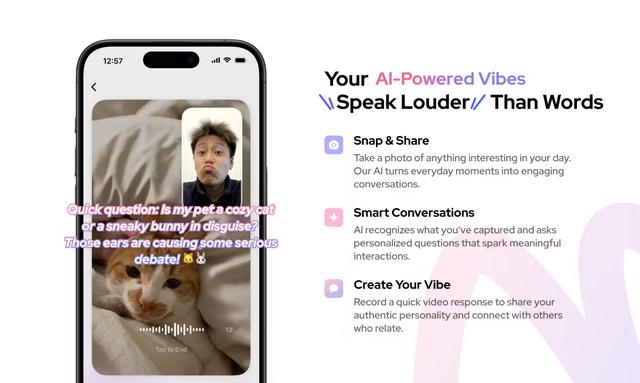
Vibing
Vibing is an AI-powered dating app that helps users share authentic moments through video stories and make genuine connections based on personality matching and interactive features.
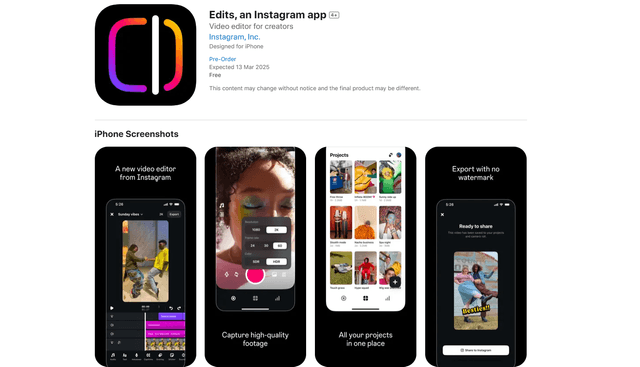
Edits, an Instagram app
Edits is Instagram's free video creation app that provides creators with professional editing tools, AI features, and analytics capabilities to create high-quality videos directly from their phones.