Introduction to WebStorm
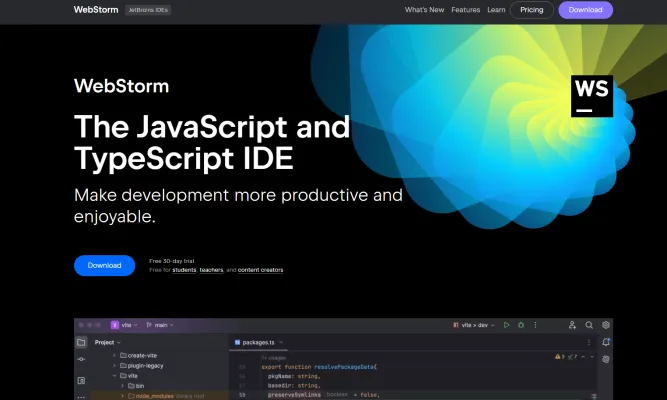
WebStorm is a powerful integrated development environment (IDE) developed by JetBrains, specifically designed for JavaScript, TypeScript, and related technologies. It streamlines the development process, allowing programmers to focus on coding rather than configuration. With out-of-the-box support for frameworks like React, Angular, and Vue, as well as Node.js, WebStorm provides tools that enhance productivity, such as intelligent code completion, on-the-fly error detection, and safe refactoring.
One of its standout features is the integrated developer tools, which enable seamless debugging, testing, and version control management directly within the IDE. Additionally, WebStorm incorporates AI-powered features to assist with documentation generation, code explanation, and refactoring suggestions, making it a valuable asset for both novice and experienced developers. With customizable themes and extensive plugin support, WebStorm provides a tailored development experience, ensuring that users can maximize their efficiency and creativity in coding. Whether you're building a web application or managing complex projects, WebStorm equips you with the tools needed to succeed in the fast-paced world of software development.
Use Cases of WebStorm
WebStorm, the powerful IDE by JetBrains, is designed specifically for JavaScript and TypeScript development. Here are some notable use cases that highlight its capabilities:
- Web Application Development: WebStorm supports frameworks like React, Angular, and Vue.js, making it a robust environment for building dynamic web applications. Its smart code editor provides real-time suggestions and error detection, allowing developers to write clean and efficient code.
- Node.js Development: With built-in support for Node.js, WebStorm allows developers to create and debug server-side applications seamlessly. The IDE provides integration with npm and other package managers, facilitating easy management of project dependencies.
- Version Control Integration: WebStorm simplifies collaboration by integrating with Git and GitHub. Developers can perform complex version control tasks, such as resolving merge conflicts and reviewing changes, directly within the IDE, enhancing productivity and streamlining workflows.
- Unit Testing: The IDE supports unit testing frameworks like Jest and Mocha, enabling developers to write, run, and debug tests efficiently. This feature is crucial for maintaining code quality and ensuring that applications function as intended.
- Remote Development: WebStorm offers remote development capabilities, allowing developers to work on projects hosted on external servers or cloud environments. This flexibility is essential for teams working in distributed setups, enhancing collaboration without compromising performance.
By leveraging these use cases, WebStorm empowers developers to enhance their productivity and streamline their development processes effectively.
How to Access WebStorm
- Download WebStorm: Visit the WebStorm download page. Choose your operating system (Windows, macOS, or Linux) and download the installer.
- Install WebStorm: Run the downloaded installer. Follow the on-screen instructions to complete the installation process. This typically involves agreeing to the terms, selecting installation options, and choosing a destination folder.
- Launch WebStorm: Once installed, find WebStorm in your applications folder (or start menu for Windows). Double-click the WebStorm icon to launch the IDE.
- Sign In or Activate: If you have a JetBrains account, sign in to access your licenses. If you don't have an account, you can start a free 30-day trial or activate the IDE with a license key.
- Start a New Project: After signing in, you can create a new project or open an existing one. WebStorm will guide you through the project setup, allowing you to choose the project type and location.
By following these steps, you'll be able to access and start using WebStorm, a powerful IDE for JavaScript and TypeScript development.
How to Use WebStorm: A Step-by-Step Guide
Step 1: Installation
- Download WebStorm: Visit the JetBrains website and download the appropriate version for your operating system.
- Install: Follow the installation wizard prompts to complete the setup.
Step 2: Project Setup
- Create a New Project: Open WebStorm and click on "New Project". Choose your project type (e.g., JavaScript, TypeScript) and configure the settings.
- Open an Existing Project: Use the "Open" option to load an existing project from your local directory.
Step 3: Navigate the Interface
- Tool Windows: Familiarize yourself with tool windows like Project, Version Control, and Terminal. Use
Alt+1to open the Project tool window. - Editor: The central area is the code editor. Customize it by adjusting themes, fonts, and keymaps in
File > Settings.
Step 4: Write Code
- Code Completion: Start typing, and WebStorm will suggest code completions. Use
Ctrl+Spacefor basic suggestions andCtrl+Shift+Spacefor smart suggestions. - Refactoring: Right-click on a variable or function and select "Refactor" to rename, extract methods, or optimize your code.
Step 5: Debug and Test
- Debugging: Set breakpoints by clicking on the gutter next to the line numbers. Use the Debug tool window to step through your code.
- Testing: Run unit tests directly from the IDE. WebStorm supports popular testing frameworks like Jest and Mocha.
Step 6: Version Control
- Git Integration: Use the Version Control tool window to commit changes, review diffs, and manage branches. Use
Alt+9to open it. - Pull Requests: Collaborate with team members by creating and reviewing pull requests within WebStorm.
Step 7: Customize and Extend
- Plugins: Enhance WebStorm with plugins from the JetBrains Marketplace. Go to
File > Settings > Pluginsto explore and install new plugins. - Keymaps: Customize keyboard shortcuts to match your workflow. Go to
File > Settings > Keymap.
By following these steps, you'll be well on your way to mastering WebStorm and enhancing your JavaScript and TypeScript development experience.
How to Create an Account on WebStorm
- Visit the JetBrains Account Portal: Go to the JetBrains Account website. This is where you can manage all your JetBrains products, including WebStorm.
- Sign Up with Your Email: Enter your email address in the sign-up form at the bottom of the page and click Sign up. This email will be associated with your JetBrains Account.
- Verify Your Email: Check your inbox for an email from JetBrains. Follow the instructions in the email to create a password and complete your registration. This step ensures that your email is valid and accessible.
- Log In to WebStorm: Once registered, use your email and the password you created to log in to WebStorm. This will allow you to access all the features and manage your licenses directly from the IDE.
By following these steps, you can easily create and manage your WebStorm account, ensuring you have full access to all the powerful tools and features JetBrains offers.
Tips for WebStorm
WebStorm, the powerful IDE for JavaScript and TypeScript development, offers a plethora of features to enhance productivity. Here are some tips to help you make the most out of WebStorm:
- Smart Code Completion: Utilize both Basic Completion (Ctrl + Space) and SmartType Completion (Ctrl + Shift + Space) to get context-aware suggestions, speeding up your coding process.
- Navigation Shortcuts: Quickly navigate through your codebase with shortcuts like Cmd + O for classes, Cmd + Shift + O for files, and Cmd + Option + O for symbols. Double Shift (Shift + Shift) searches everywhere.
- Refactoring Tools: Leverage WebStorm's robust refactoring capabilities. Press Ctrl + T to see all available refactorings for the current context, such as renaming symbols or extracting methods.
- Integrated Debugging: Debug your JavaScript and Node.js applications seamlessly within the IDE. Set breakpoints, step through code, and inspect variables without leaving your development environment.
- Version Control Integration: Manage your Git workflows efficiently with WebStorm's built-in tools. Resolve conflicts, review changes, and commit code directly from the IDE.
By mastering these tips, you can significantly boost your productivity and streamline your development workflow in WebStorm.


